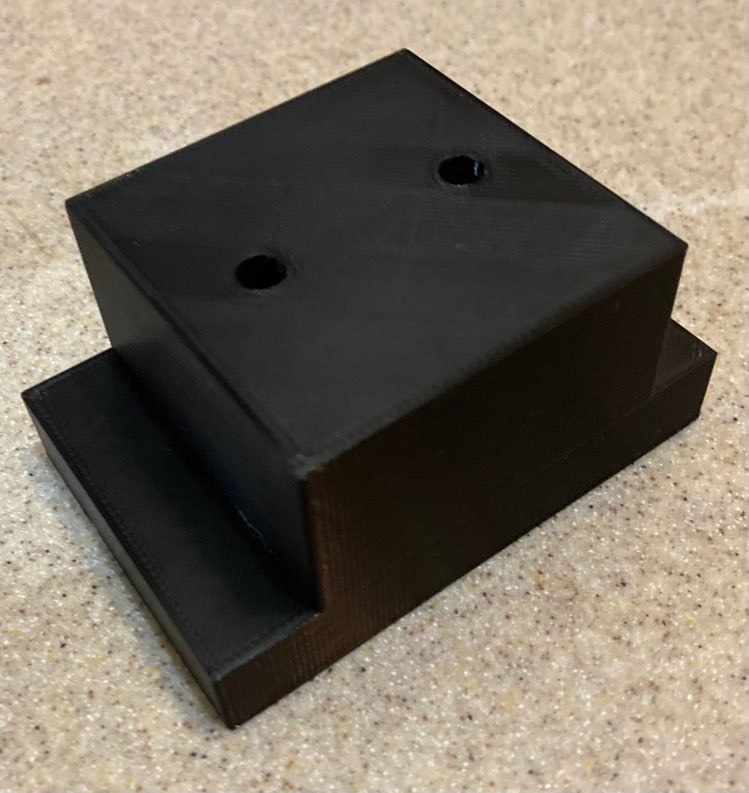
These issues are easiest to identify on square parts. If you have mysterious blobbing on organic shapes, maybe try a cube test print to see if your printer has one of these issues on the corners. If you do end up with issues on your corners, and your printer has no other problems with printing, pressure advance (Klipper firmware) or linear advance (Marlin firmware) may solve your issue. Although they accomplish the task in different ways, both solutions solve the problem of issues with corners in 3d printing.

As a side note, when I am attempting to determine how accurate my machine is or to calibrate it, I first print a cube that I designed that has very large corner radii so that corner issues won’t bias my calibration.

If you spend any time reading through 3d printer help forums, it won’t be long before you see someone post about a problem that they are experiencing, to which someone else replies “you need to level your bed better.” But how good is good enough?

When it comes to 3d printer beds, I typically run into two variations:

  • 5 point bed level. This is a bed configuration that comes standard with many different firmware packages. It’s simple to set up and will give you pretty good results. The downside is that it doesn’t provide any flexibility in case your bed is warped in between the points. In doing some testing on this version, it seems like I started to have problems if my bed variance exceeded 0.05mm. Increasing my first layer height somewhat mitigated the problem, but didn’t solve it completely.
  • Mesh bed level. For this experiment, I used a 25 point (5×5 grid) mesh bed level. I allowed my bed variance to get close to twice my layer height, so for a 0.1mm layer height my bed variance was nearly 0.2mm. Then I set up my mesh bed level. I was able to see a slight difference in print quality near the base as the bed variance was increased, but it wasn’t significant. However, the differences that I observed were pretty minor and I believe that, in most cases, the resulting print would be considered “fit for use.”

Here is my recommendation. Get your bed as physically flat as you possibly can. See if you can get it to 0.05mm flatness. In most cases, this is possible as long as you have decent springs holding the bed up. Then run a mesh bed level to compensate for the variance that still exists. For most materials, I’m able to run prints without any hairspray, glue, tape, or anything else to hold the print onto the bed by following this methodology.

Some 3d printers end up with rough top layers. One thing that you can check if this happens to you is the rate of filament flow. Filament flow is affected by a couple of things, the most common issues are:

  • Flow rate setting in slicer. I normally set my flow rate to 105% – 110% for the first few layers, then turn it down to 100%. If this is set too high then your printer is adding more filament than you might need, resulting in a rough surface.
  • Extruder calibration. Run a simple extruder calibration to double check that you are extruding the amount that you think you are. If you are overextruding, you might be causing problems for yourself.

Although there are a couple of things that can cause parts to curl, I have found that it is usually related to the environment that the printer is in. If your parts initially print good layers, and then the print curls up away from the bed I would initially start to investigate whether the printer is in line with an HVAC vent or in a very drafty area. Ideally, put it in an enclosure.

Just like checking your oil and your tire pressure on your car every once in a while, you should run a quick check on the overall health of your printer from time to time, as well.

My preferred way to do this is to print a Benchy model. There are other torture tests, but once you know what you are looking for with this model, it can tell you a whole lot. It is not a diagnostic tool, in the sense that it will tell you what adjustments to make, but it does tell you if there is a problem so that you can do some additional investigation, if needed. Benchy features include, bridging, holes of all types and angles, retraction, fine details, etc.

Why get a 3d printer? What value do they bring? Personally, I think they solve many problems that the manufacturing industry has struggled with. Prototyping, for example, comes to mind. It might take the tool shop a week to build a prototype part just to see if something will fit in an assembly. If you just need to check the overall envelope, you can often do it much quicker on a 3d printer and iterate through the design process.

Personally, I use mine all the time to solve problems at home. My wife can’t find curtain tie backs that she likes? Fine, she can just sit with me while I design something and then I’ll print it for her.

We inherited a TV over the weekend. My father-in-law had it mounted on a wall in his workshop and he had thrown away the feet for it several years ago. He gave it to us and I thought it would be a good learning opportunity for my kids to learn how to solve problems. I had them design some feet for it. Their first step was to create a drawing on paper. I’m old fashioned. I still believe that if you can’t put it on paper then you probably have no business trying to put it on cad. Once I approved of their design they had to sit down and draft their new idea. Then they had to print it. What you see below is how a 10 year old solved the problem of a TV having no feet.

Sometimes, the Bowden tube will pop out of the extruder. It can happen at either end, but I have found that it happens much more frequently at the extruder end.

This can be caused by two things:

  1. Clog in the nozzle. The nozzle gets clogged, then the extruder keeps pushing filament. Eventually, the Bowden tube will pop out to relieve the pressure.
  2. The teeth in the pneumatic coupling have worn out. In my experience, this comes from frequently removing the coupling and pushing it back on. If this is the case, you just need to get a new coupling.

This is probably the most difficult thing to troubleshoot, and I had it happen to me a while ago. After checking everything that I could think of, I tried a test print. It worked, ah, what a relief. I tried a few more prints. So far so good. Now to go ahead and try the overnight print. It failed at around hour 12 or 13. Ugh. Back to the drawing board. After going through several logs, I found a T0 error. Ah, something to look into.

In my case, it turns out that my temperature sensor wire was frayed. A $12 replacement fixed it, probably something that I should have done to begin with.

Live and learn.

You can get “bands,” or horizontal lines across your print for many reasons. Typically, it means that something is loose. It’s not always obvious where to start looking, though. I usually look at the roller bearings first. Then I make sure all the nuts and bolts are tight. Then I check the belt tension. Just keep going through your machine until you find something that wiggles more than it should and tighten it. It’s not a glamorous process, but you should be going through your machine periodically anyway. 

Salmon skin, I’m guessing most people have seen this.

In a word, salmon skin is the result of vibrations. Your nozzle isn’t exactly where the printer thinks it is while it is extruding, which causes variations in the surface texture of the finished part.

To improve your surface finish, go through the components of your printer and make sure they are tight. Like many things, some parts of your printer loosen up over time. It’s a good practice to make sure everything is tight periodically anyway. Make sure all of the bolts and nuts are tight, make sure that your roller bearings are smooth. Make sure that your printhead doesn’t have any slop in it if you try to move it with your hand, etc.

Regular maintenance checks should get rid of most of the effects of salmon skin.